Installing your Certificate on Zeus
When you receive your certificates there will be 3 files, open a text editor and then copy the text from each certificate into the text editor to form one file. The certificates should be pasted in the following sequence, yoursite \ yourdomain certificate , Intermediate CA certificate and Root certificate, and the resulting file should look like the following:
-----BEGIN CERTIFICATE-----
(Your Site Certificate Encoded Text)
-----END CERTIFICATE-----
-----BEGIN CERTIFICATE-----
(intermediate CA Encoded Text)
-----END CERTIFICATE-----
-----BEGIN CERTIFICATE-----
(Root Encoded Text)
-----END CERTIFICATE-----
Please note: Make sure you include the -----BEGIN CERTIFICATE----- and -----END CERTIFICATE----- as displayed above.
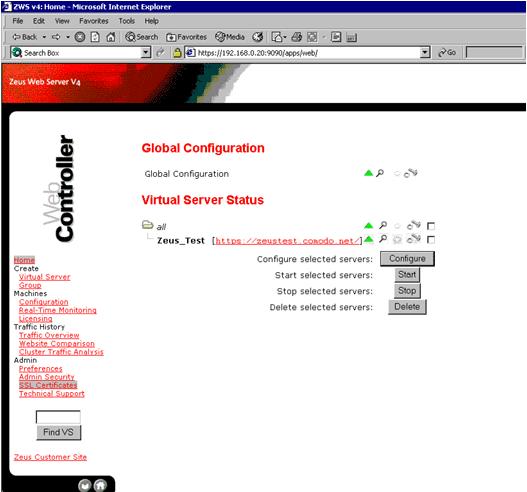
1. Login to the web server.
2. Select SSL certificates
3. Select Generate CSR (or Replace Certificate) against the certificate set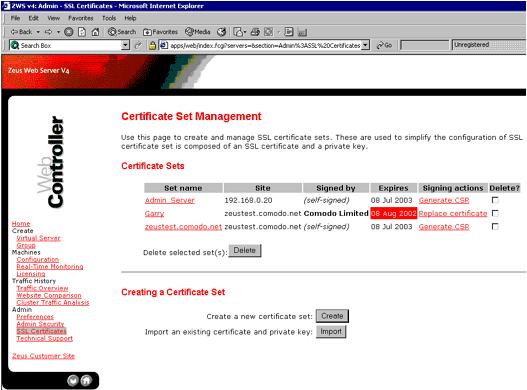
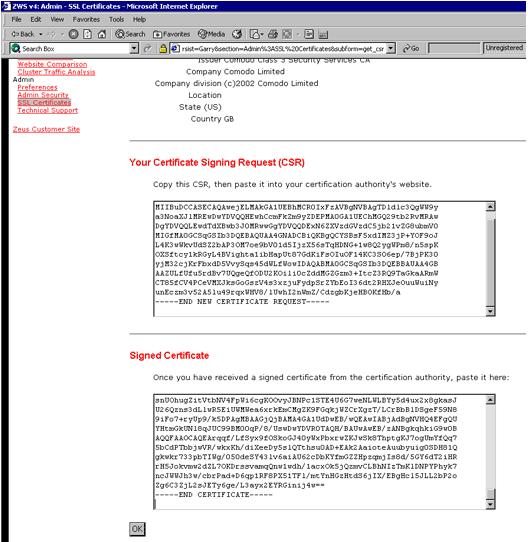
4. Copy/Paste the text from the text editor into the Signed Certificate box and click OK.
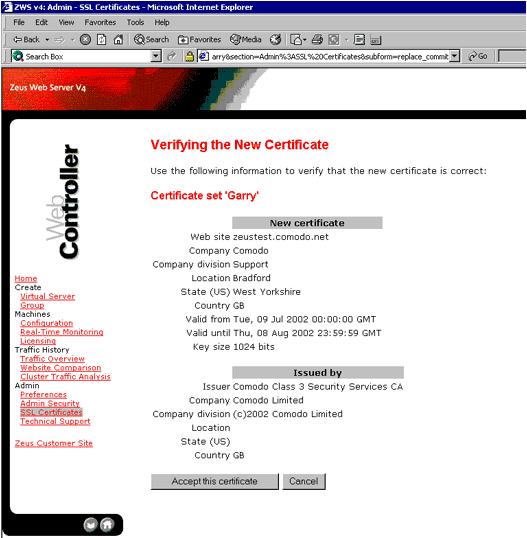
5. Then select Accept this Certificate
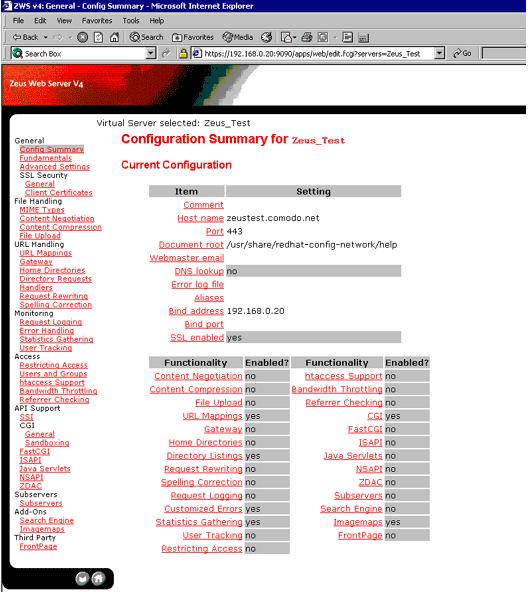
6. The certificate set now needs assigning to the web site. Click on the Home icon. Put a tick in the box next to the virtual server to configure and select configure.
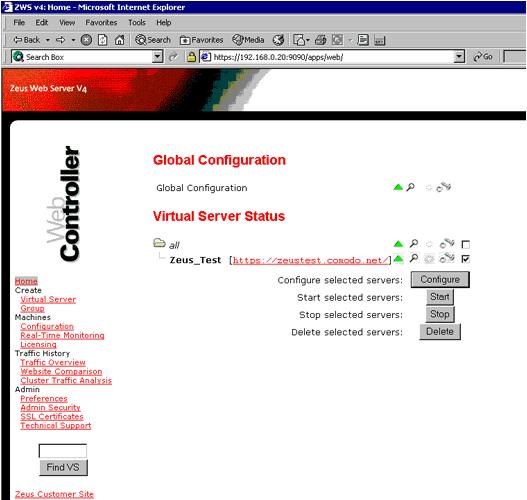
7. Click on SSL Enabled.
8. Enable SSL and select the certificate set to use.
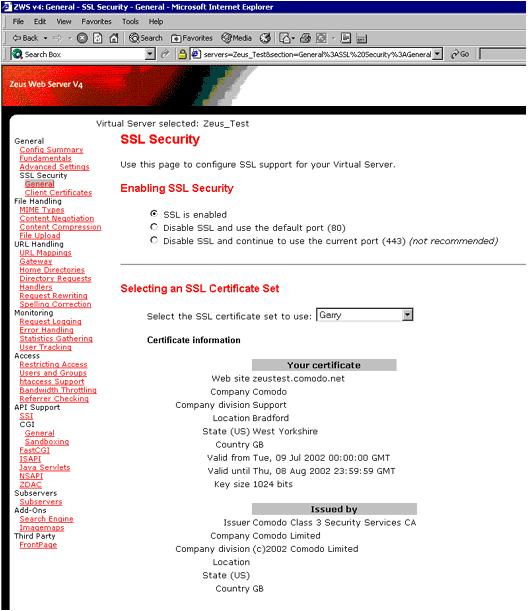
9. Apply and commit the changes then restart the web server. |
