Follow the selections below to assign a DigitalID in Windows Mail.
1. Start Windows Mail
2. Select Tools
3. Select Accounts
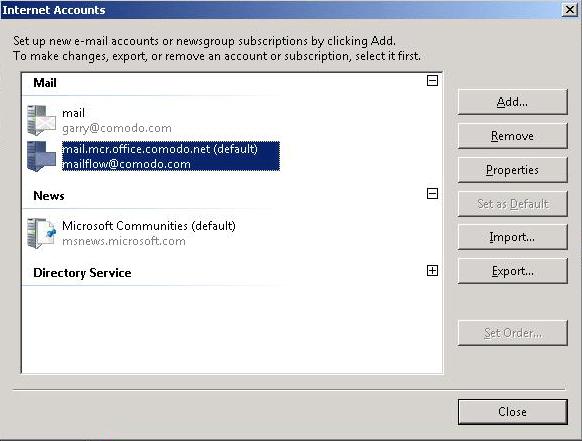
4. Select the mail account you want to configure (either double click on it or select the account then select 'properties')
5. Select the Security tab
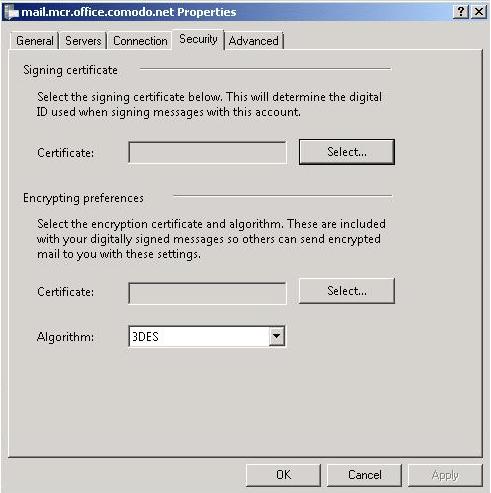
6. Click the 'Select' button below 'Signing Certificate' and 'Encryption Preferences' to select the certificate to use
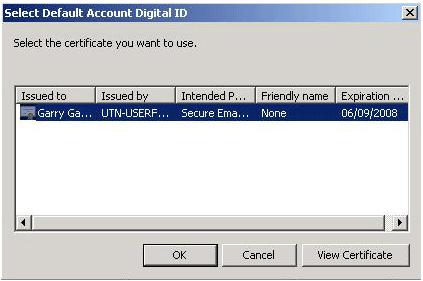
NOTE: If there is a certificate matching the email address of the account then it will be listed as below:
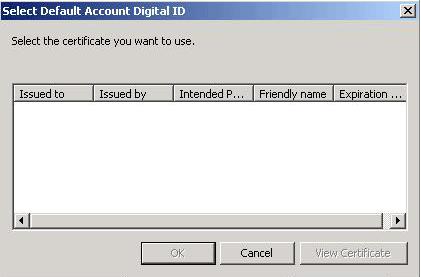
NOTE: If you do not have a certificate matching the email address of the account then the list will be empty as below
|
