The following process describes how to backup certificates
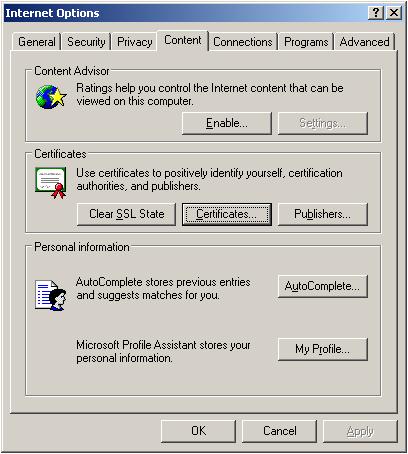
1. Start Internet Explorer, select Tools, Internet Options, Content, Certificates
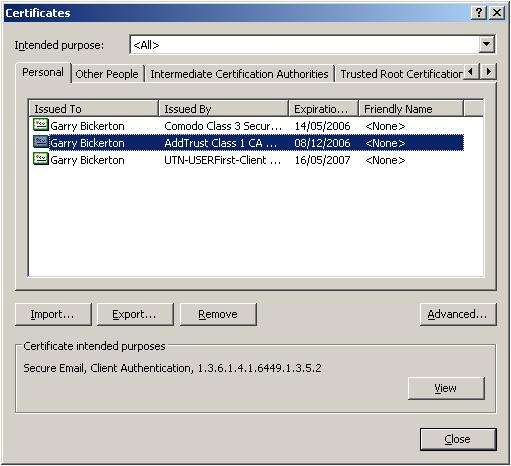
2. On the Personal Certificates tab, select the certificate to export and Select Export
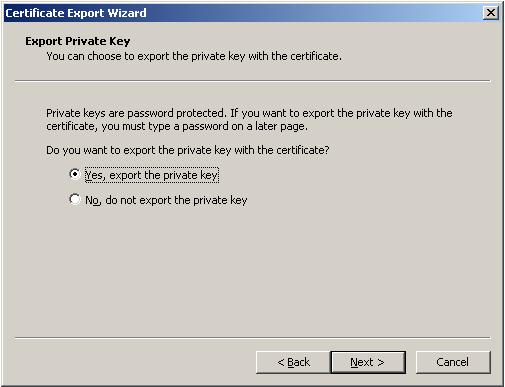
3. When requested, select 'Yes, export the private key'
NOTE: the default is set to No, so will need changing
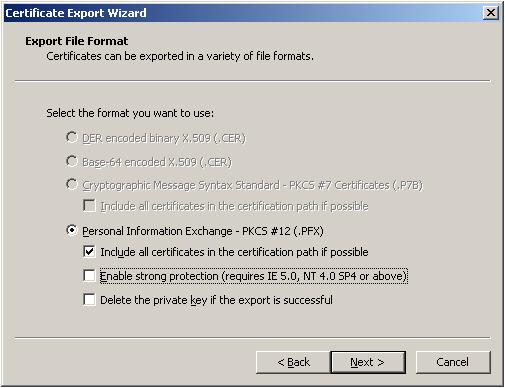
4. And 'Include all certificates in the certification path, if possible'
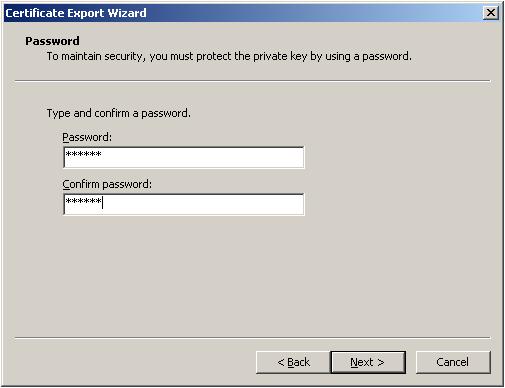
5. Type a password which you can remember later
6. Then select the 'save' location and give the file a name
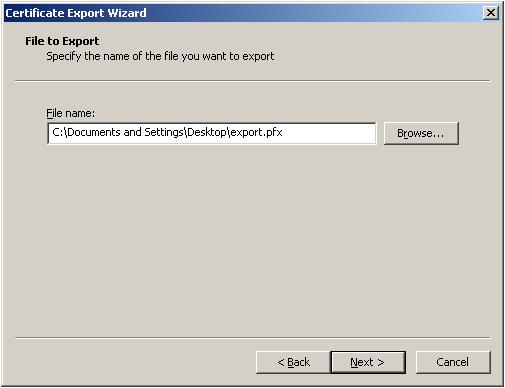
7. Leave the 'Type' as 'Personal Information Exchange (*.pfx)'
Once finished the file and associated private key is saved as a pfx file
See Also:
Importing the pfx file
|
