INSTALLATION READINESS REQUIREMENTS
Before you begin, please review the following Installation Readiness requirements. In preparation of certificate enrollment, you will need to:
- Have access to the internet to acquire the necessary drivers and obtain the GeoTrust Smart Phone Administrator certificate
- Close out all non-essential applications, EXCEPT your browser and email, prior to starting the process since you will be prompted to re-boot your computer
- Have your iKey USB token available
- Establish a passphrase that will be used to protect your certificate stored on the token. GeoTrust recommends selecting an eight (8) mixed character password (please note that passphrases are case sensitive). You will need to remember this passphrase each time you use your GeoTrust Smart Phone Administrator certificate
- Have the one-time user Enrollment PIN that you established at registration available. To pick up your certificate, you will need your Enrollment PIN.
STEP 1: INSTALLING YOUR iKEY USB TOKEN DRIVERS
Before installing your certificate you must download and install your iKey USB token drivers.
Go to :
http://downloads.geotrust.com/TCSPIKEY0407203016.exe
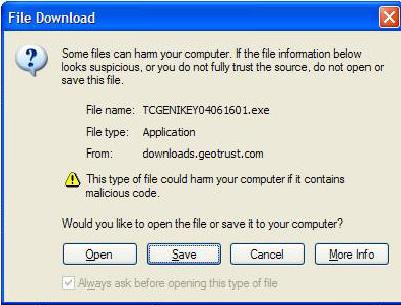
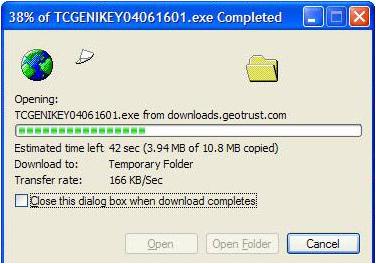
When the “File Download” box opens, click “Save”.
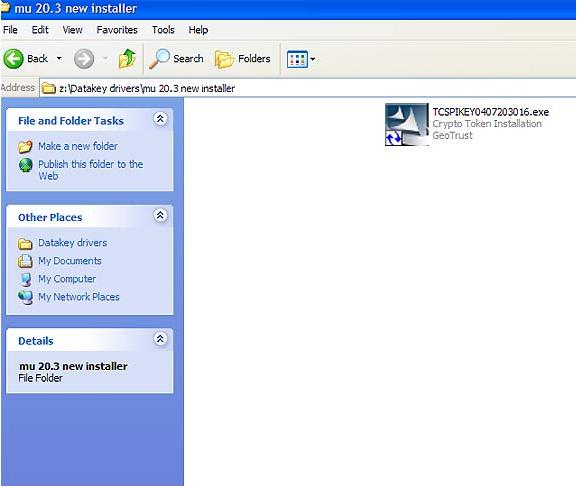
Start the installation by double-clicking on the Crypto Token installation icon
.
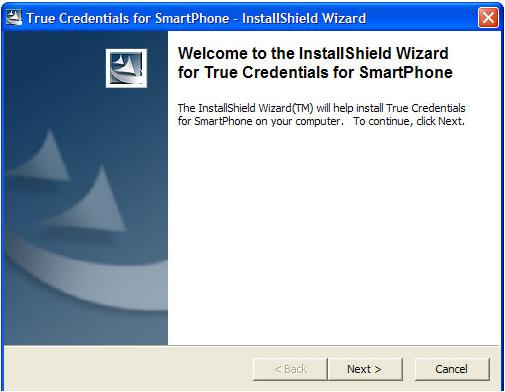
Follow the InstallShield Wizard Instructions on the screen. Close all applications and click “Next”
Verify the appropriate version – 4.7 MU20 has been installed
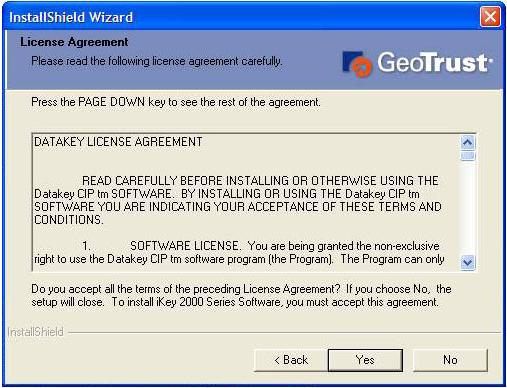
Accept the license agreement:
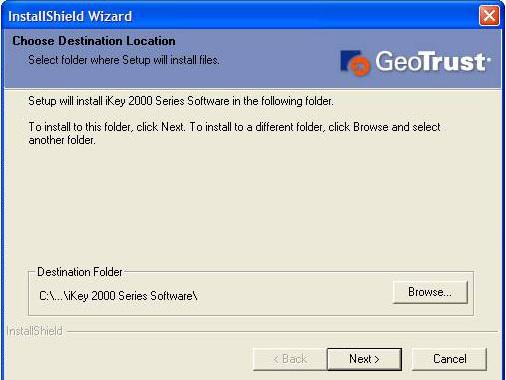
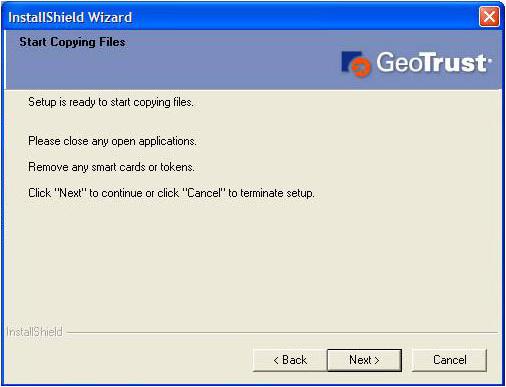
To start copying files, remove any smart cards or tokens and click “Next”
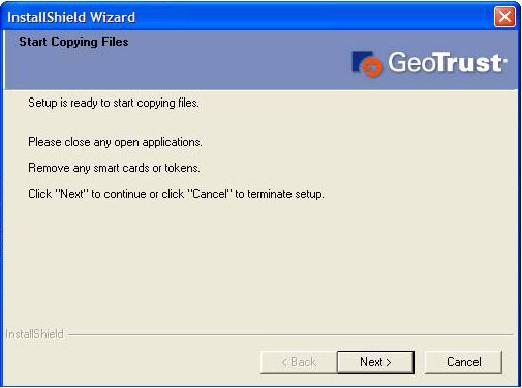
The program will generate a “Setup Status” screen. When the drivers have finished loading you will receive an “Install Wizard Complete” screen.

STEP 2: INSERTING YOUR USB TOKEN
At the prompt, insert your USB token into an open USB slot on your computer

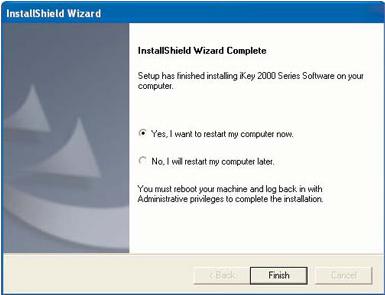
Next, to complete installation, you must reboot your computer. Select “Yes, I want to restart my computer now”
STEP 3: RESETTING YOUR TOKEN PASSWORD
Next you will need to change the default password on your token. Currently, your token is delivered to you with a default password preset to PASSWORD (in all caps). GeoTrust recommends changing this password to a combination of at least eight (8) mixed characters.
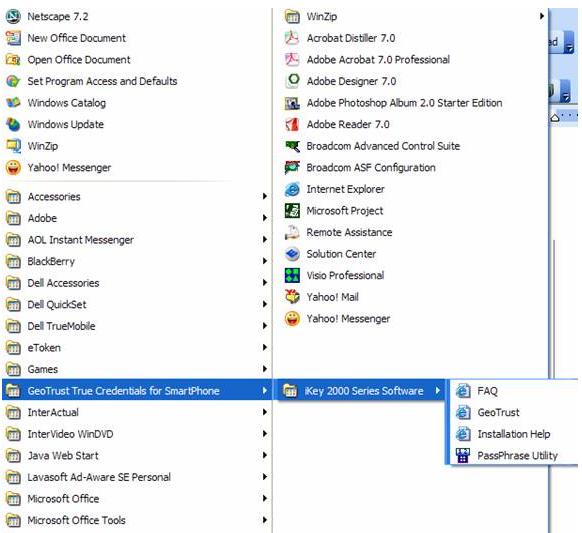
Go to your "Start" button, select "All Programs", then "GeoTrust True Credential for SmartPhone", then "iKey 2000 Series Software", and "PassPhrase Utility"
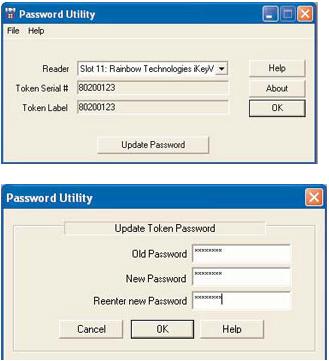
Select the "Update Password" button to change the password
Reset your password
STEP 4: PICKING UP AND INSTALLING YOUR SMARTPHONE ADMINISTRATOR CERTIFICATE
Below are detailed instructions for picking up and installing your Smart Phone Administrator certificate.
To pick up your certificate you will need the following:
1. Your email address
2. Your Enrollment PIN
3. Your new Token Password that you created in Step 3.
PLEASE NOTE: After you pick up your new certificate you will no longer need to keep your Enrollment PIN. However, you WILL need to remember your new Token Password that you created in Step 3. This password will be used during ALL future digital signings and Smart Phone Portal Access.
Step 4a: Picking up and installing your Smart Phone Administrator Certificate
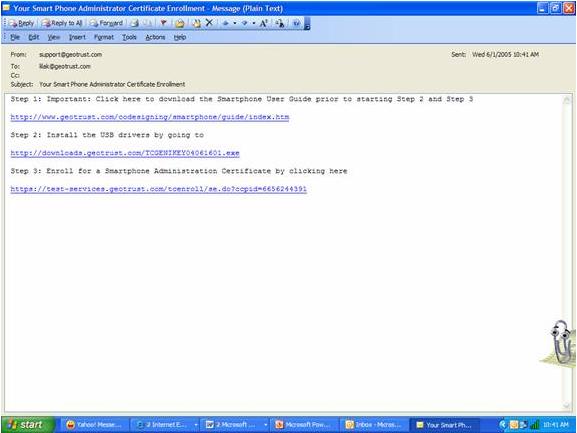
1. To pick up your certificate, refer back to the email you received containing these instructions with the Subject Header: Your Smart Phone Administrator Certificate Enrollment. A specific link (the third link) has been created for you to access your certificate within that email. Click on that link.
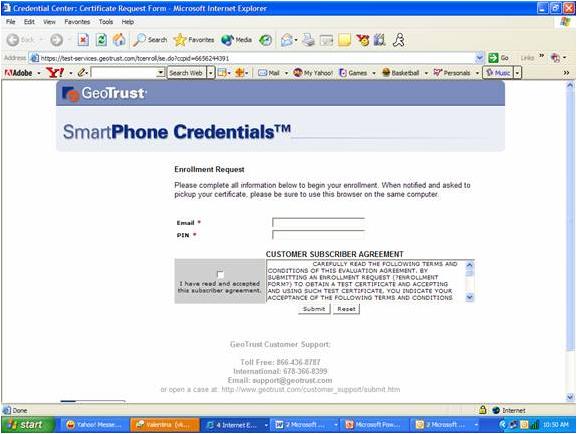
2. Enter your email address and PIN/Password (this is your Enrollment PIN). Read the subscriber agreement, and click “Continue” This process will take approximately 2-5 minutes to generate and complete the necessary cryptographic functions. This process is completely automated and it is important that you do not disrupt the process. If for some reason the process is interrupted, you should simply start the process over.
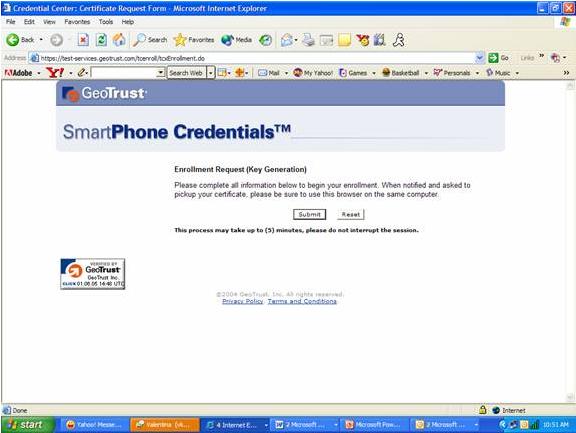
3. The next screen will be displayed if you have successfully authenticated using the correct PIN and email address. Click "Continue" to proceed with the Certificate enrollment process.
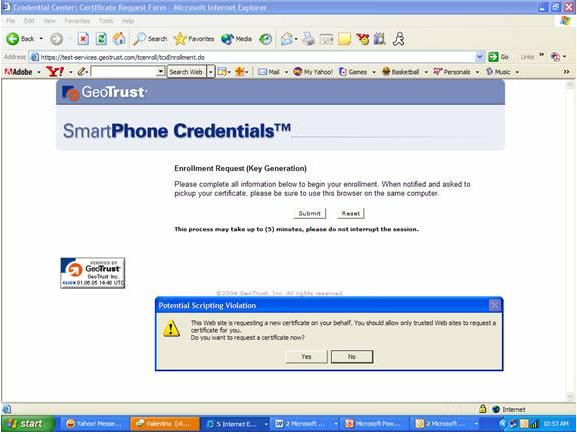
4. Choose "Yes" to the browser generated Potential Scripting Violation prompt
5. At the Login prompt, enter your passphrase (this is the new password you created in Step 3)
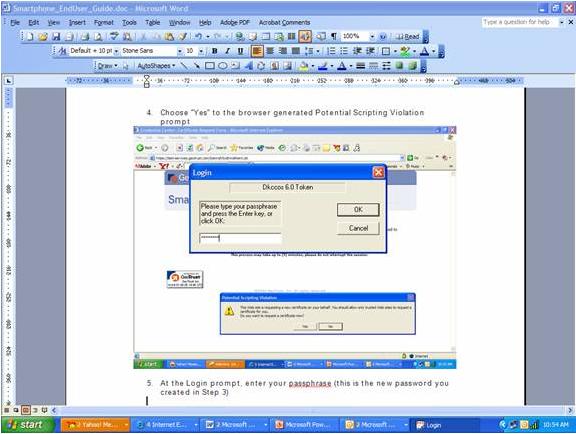
6. The key will then begin to be generated on your token. A series of prompts regarding adding your certificate to your system will appear. Click "Yes" to all.

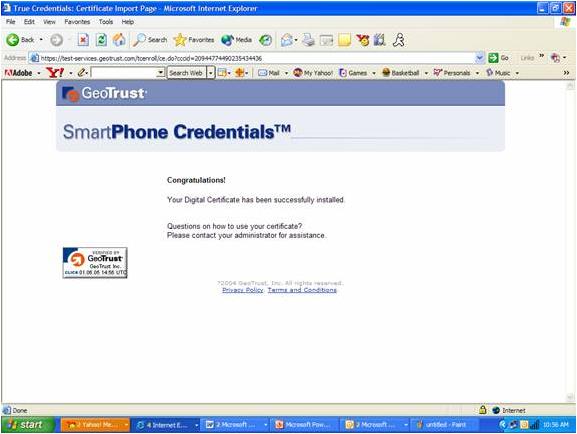
7. The final screen should confirm that your certificate has been successfully installed.
STEP 5: Signing your Code
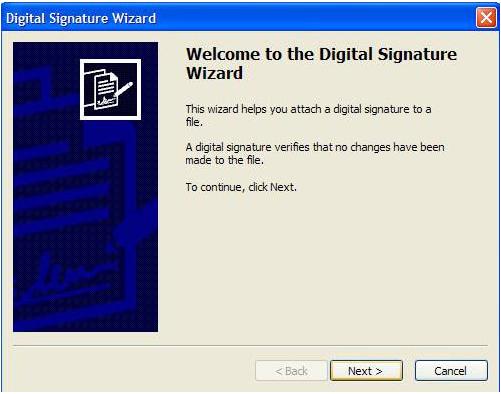
First start program "C:\Windows CE Tools\wce300\Smartphone 2002\tools\signcode.exe". You will see "Welcome to the Digital Signature Wizard" with short introduction. Click on "Next" button and observe this dialog:
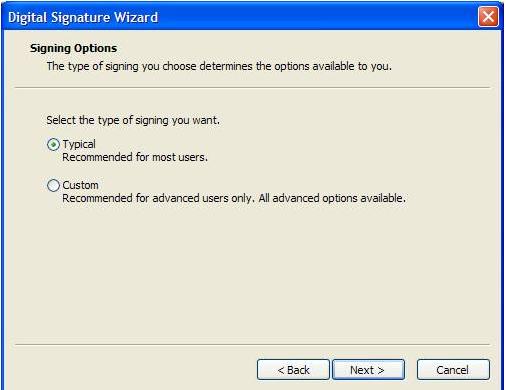
Select the type of signing you want (Typical will do):
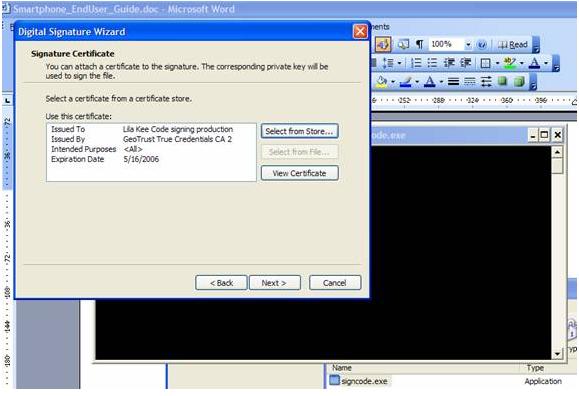
Select your Smart Phone Administrator Certificate which is on your token to sign the code.
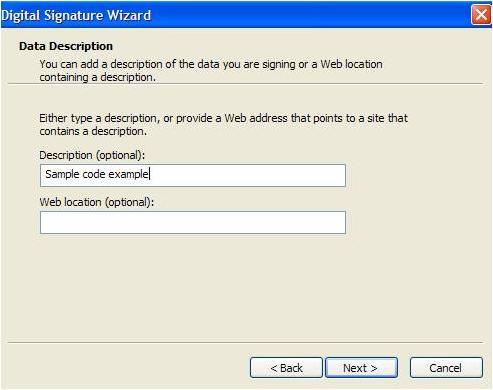
Optionally, add a description and/or web location to the data your are signing
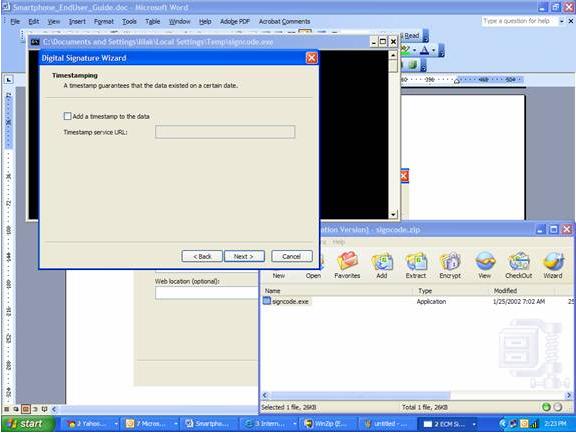
Optionally, add a timestamp to the data
.
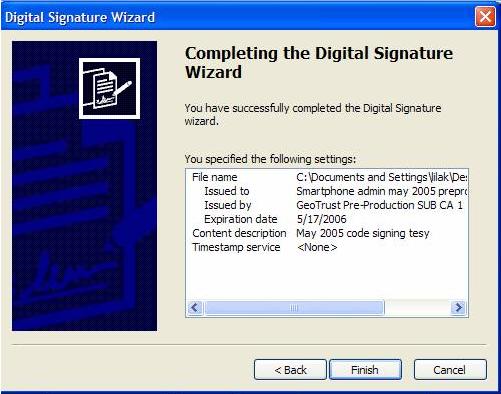
Click Finish, the complete the Digital Signature Wizard.
Enter the Passphrase to the USB Token:
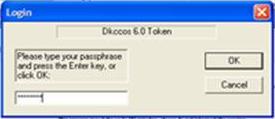
If you have successfully authenticated to the token, you should see the following success message.
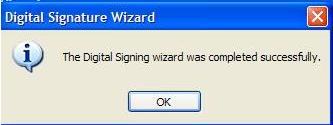
STEP 6: ACCESSING YOUR SMARTPHONE PORTAL
By now the file has been code signed locally using your SmartPhone Administrator certificate. Next, you must access the SmartPhone signing portal for final server-side code signing using a Trusted Root. To perform this step you must upload the file to the SmartPhone portal.
At first you must go to the proper address at GeoTrust web site. But instead of asking you for password, it asks you first to select a certificate:
Click on the link below to login to the Smart Phone Portal where you can upload and manage signed code.
https://tcadmin.geotrust.com/tcadmin/RAStart.do
You will need to Client Authenticate using your Smart Phone Administrator Certificate on your USB token. Note: You will need to “log-on” to the token with the Passphrase you established earlier each time you access the Smart Phone Credentials’ portal.
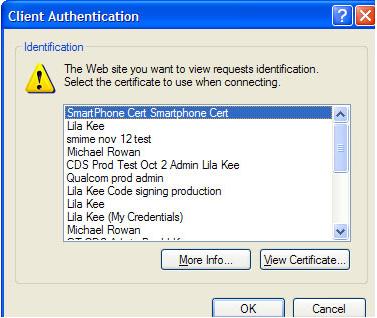
Make sure your GeoTrust issued certificate is plugged into your computer, and when prompted selected the certificate issued in your name.
If successfully authenticated, you will see this home page
.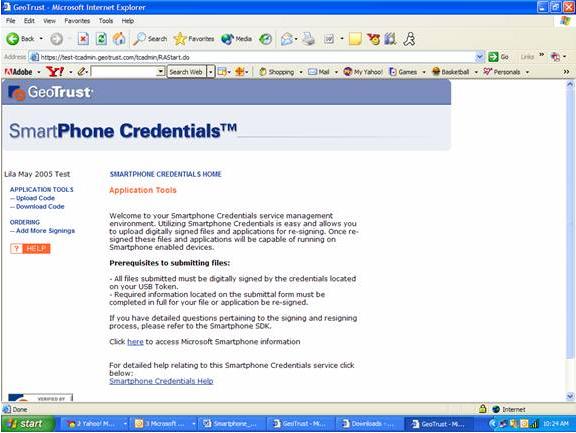
To upload previously locally signed code to be re-signed with the Mobile-2-Mkt Root select the Upload Code link on the left navigation bar:

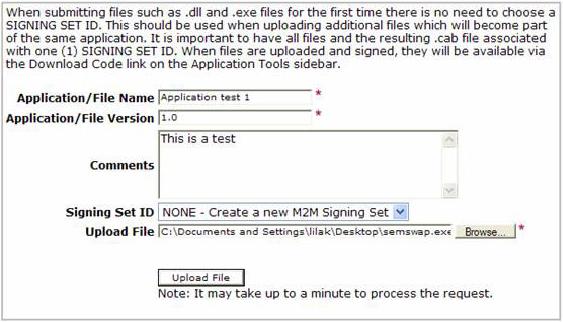
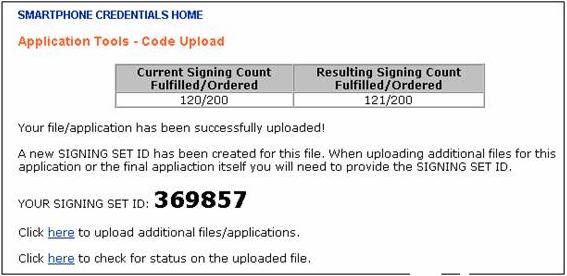
A new signing set ID will be created at initial code upload. When up loading additional files for this application or the final application itself, you will need to provide the SIGNING SET ID. A SIGNING SET is a special number used to cover any exe, dll, mui, and CAB file.
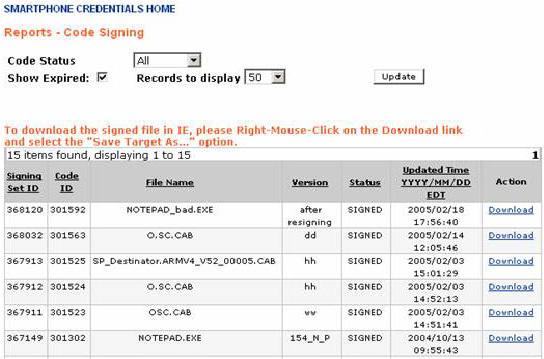
To download your re-signed code, select the Download Link found under the Action Column.
Put all re-signed .DLLs, EXEs., and MUIs into a CAB. Sign the CAB using your SmartPhone Administrator certificate that resides on your token, and then upload the signed CAB to the SmartPhone Portal for re-signing. You can then download the re-signed CAB for installation to the phone.You are now ready to upload your Signed code. For specific guidance please review the document “ A Practical Guide to the Smartphone Application Security and Code Signing Model for Developers” found:
http://msdn.microsoft.com/library/default.asp?url=/library/en-us/dnppcgen/html/smartphone_security.asp |